3D Printing and Hardware
3/20/2017
The next part of our resources page we’re revamping is our hardware section. We’ve made 3 brand new cheat sheets: one for 3D printing, using GrabCAD, and an overall intro to using Autodesk Inventor. In honor of that, we’ve got one of our Joshes (the hardware lead) and Rebecca, our resident 3D printing expert, to answer a couple questions about how we build the robot. We’ll also have a separate post later on about the specifics of how we actually design the robot.
1. Why no Tetrix? What do you use instead?
While tetrix is not a bad build system in itself, it is very limiting in terms of design. We choose to use mostly wood and 3D-Printed parts because it means that we can customize each part to be exactly how we want. For more structure, we use REV to attach various pieces. If you have the ability/resources, I would suggest REV over Tetrix because it is far more versatile as a system.
 REV is a good alternative to Tetrix, if you're looking for one.
2. How do you fix loose screws?
One of the most helpful products we use is Loctite Threadlocker. This is an excellent product that acts kind of like glue to keep screws in place. However, unlike glue, you can still remove the screws, it just adds much more friction to prevent loosening through vibration and general use. This is especially helpful with motor hub set-screws, keeping wheels and gears from slipping on their axles.
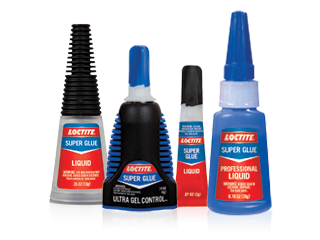 Behold, the savior of many a drive trains.
The guy with the curly hair (Eddie Bates) graduated last year, sadly. However, we got a new member, the girl with the curly hair, who is his younger sister, Rebecca. Don’t worry, there is still a plethora of curly hair on QuadX.
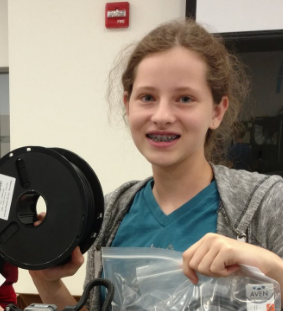 Meet Rebecca, our primary source of frizz on the team and 3D printing expert.
When starting a print, you will want to watch the first few layers of it to ensure it doesn’t mess up. The first couple of layers are the most likely of any to mess up, and if they do, you will want to restart the print as soon as possible. When changing filaments, especially between different colors and plastics, you want to make sure the head is fully flushed out. Start by reversing the current filament out of the head until it is fully out. Then, you can begin extruding the new filament. It might take a while to start extruding filament and then you have to continue extruding until the filament has completely changed to the new one. Now you can begin your print!
While setting up prints in your slicer program, try and make sure they are arranged and oriented the most efficient way possible. For example, put the flattest side facing the bed to minimize support material needed (most slicers have a ‘lay flat’ tool to help you), and put objects close together to condense the distance the head needs to travel.
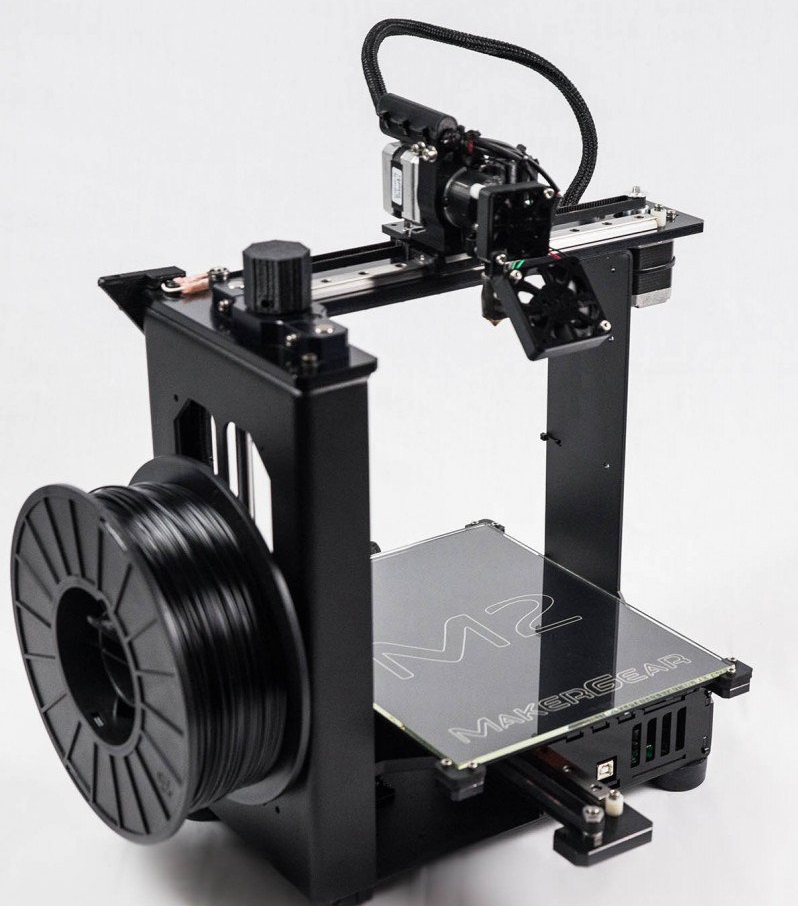
5. What 3D printer do you guys have and what should I get? What about plastics?We mainly use a MakerGear M2 3D Printer, but we also use an Ultimaker 2+ and a Robo 3d r1 plus. On all of our printers we use Gold Hatchbox PLA for consistency. What type of printer you should get really depends on your situation. The biggest factor is your decision is your budget, as printer’s can range from a couple hundred dollars, to several thousand. Are you fundraising it all yourself? Can you apply for a grant? Once you know how much you have to spend, you know what part of the market to look at.
Another thing to consider is size. Smaller printers can be a lot cheaper and still be incredibly reliable, but can severely limit you of the size of parts that you can print. Our MakerGear has bed dimensions of 10x8x8 (lxwxh) which is plenty for most of our needs with a few exceptions, such as our ball slide which had to be split into two parts.
We only use PLA plastic, so you can feel free to experiment with other types to suit your needs. We found that PLA is relatively common to be sold, and has a good variety of colors to choose from. It is pretty easy to manipulate, and if the printer is calibrated correctly, easy to remove from the bed. But, because of the slightly lower melting temperature than other plastics, it melts easier, say in a hot car on a Texas summers day... yeah that wasn't fun.
We love 3D printing for so many of our parts because they are so customizable. Anything we can design in CAD, we can usually export and have it done printing by the morning to put on the robot. This quick turn around time allows us to make changes and experiment with prototyping much faster than normal, which was especially useful.
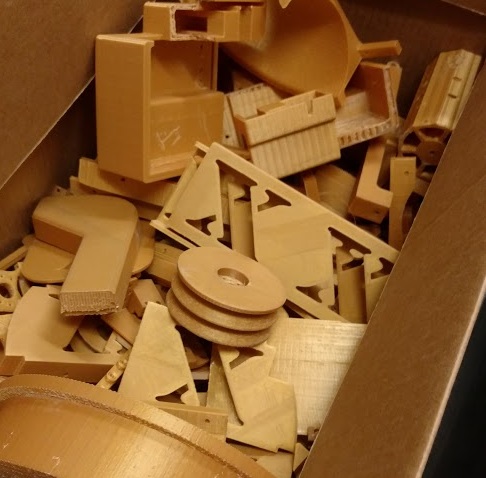 We have literal buckets of old 3D printed parts, all extremely helfpul for rapid prototyping.
One important thing I learned this year is that faster gear ratios doesn’t always equate to better outputs. This was especially noticeable in our lift and shooter. This is why prototyping is so important. We often wanted to be as fast as possible, and whenever you have a fast gear ratio you sacrifice the strength of the motor/servo being geared up. For example, when prototyping our shooter, we tested with various gear ratios to make sure we could shoot far enough. Obviously, higher speed would equate to further shooting, but only to an extent. We tried a gear ratio of 1.5:1, and a gear ratio of 3:1. The 1.5:1 should have been twice as fast (ideally), but it turned out to be faster by a very negligible amount. This was because, at the faster ratio, the motor no longer had the torque to reach its max speed. Overall, My advice is just make sure you prototype with different variations before settling on a final design.
← Back